
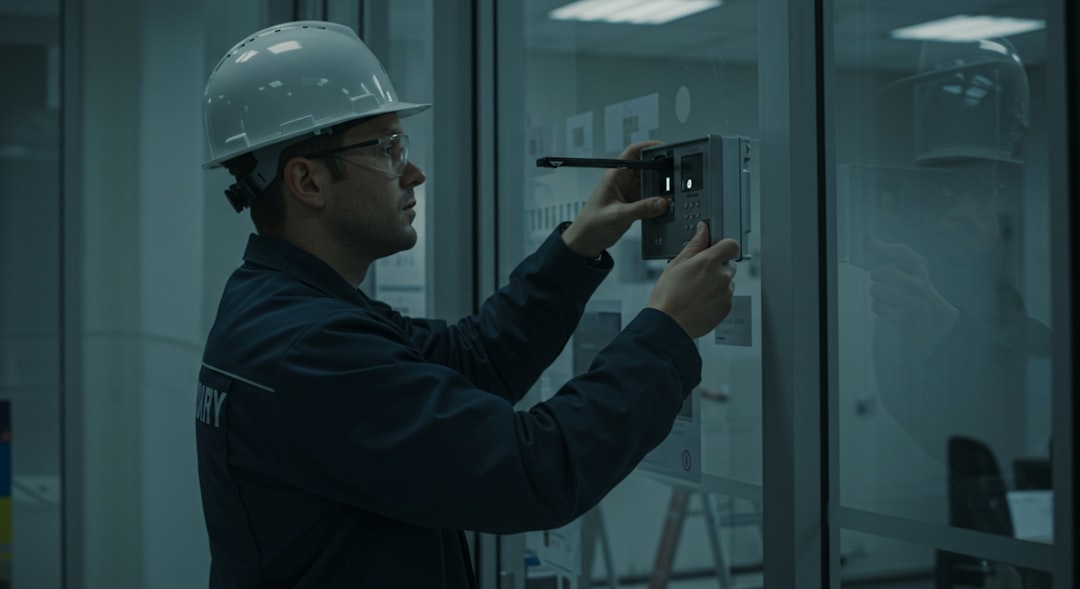
Learn what experienced repair technicians inspect before buying a refrigerator — avoid costly mistakes with these practical, expert-backed tips.
Why Technicians Shop Differently Than Everyone Else
Most people walk into an appliance store, look at the finish, check the ice maker, and call it a day. Repair technicians do something completely different. After years of pulling apart failed units, we know exactly where these machines hide their problems — and trust me, manufacturers are not advertising those weak spots on the showroom floor. Whether you are buying new or used, here is exactly what someone with real hands-on experience checks before putting money down on a refrigerator.
Start With the Compressor Area
The compressor is the heart of any refrigerator. On most units, it sits at the bottom rear behind a panel. When evaluating a used fridge, the first thing I do is get down and listen. A healthy compressor hums steadily at a low pitch. If you hear clicking, rattling, or the unit cycling on and off every few minutes, walk away. That clicking is usually a sign the compressor is struggling to start — a repair that often costs more than the appliance is worth.
On new models, this still matters. Some budget-brand compressors are notoriously underpowered for the cabinet size they are paired with. In many homes, we see brand-new refrigerators running almost constantly because the compressor cannot keep up with the internal volume. That means higher electricity bills and a shorter lifespan.
Check the Door Seals Carefully
This one gets overlooked constantly. A worn or warped door gasket is one of the most common reasons a refrigerator stops cooling efficiently. To test it, close the door on a dollar bill. If you can pull it out with no resistance, the seal is already failing. On used units, look for any cracking, gaps, or sections that feel stiffer than the rest — that stiffness usually means the rubber has dried out and will shrink further over time.
A real example: a customer once bought a used side-by-side refrigerator that looked spotless inside and out. Within three weeks, her groceries were spoiling. The freezer seal had a small warp on the lower corner that let warm air in constantly. The fix was a $45 gasket replacement, but she could have caught it before buying with a simple dollar bill test.
Inspect the Evaporator Fan and Drain System
Open the freezer and listen. You should hear a fan running when the door is open and the light is on. If you do not, that evaporator fan motor may already be failing or seized. A blocked drain is another common issue — it causes ice buildup under the freezer floor and eventually leads to water leaking into the fresh food section. If you notice any standing water, unusual frost patterns, or a thick layer of ice on the freezer walls, those are red flags worth taking seriously.
For guidance on related cooling system issues, this refrigerator not cooling troubleshooting resource breaks down what each symptom typically means and how severe the underlying problem usually is.
Look at the Condenser Coils
In many homes, we see refrigerators that fail early simply because the condenser coils have never been cleaned. On most models, these coils sit underneath or behind the unit and collect dust, pet hair, and debris over time. A clogged coil forces the compressor to work harder and run hotter. When evaluating any used refrigerator, pull it away from the wall and look. If the coils are packed with dust, that tells you how the previous owner maintained it — and gives you a preview of what else was probably ignored.


